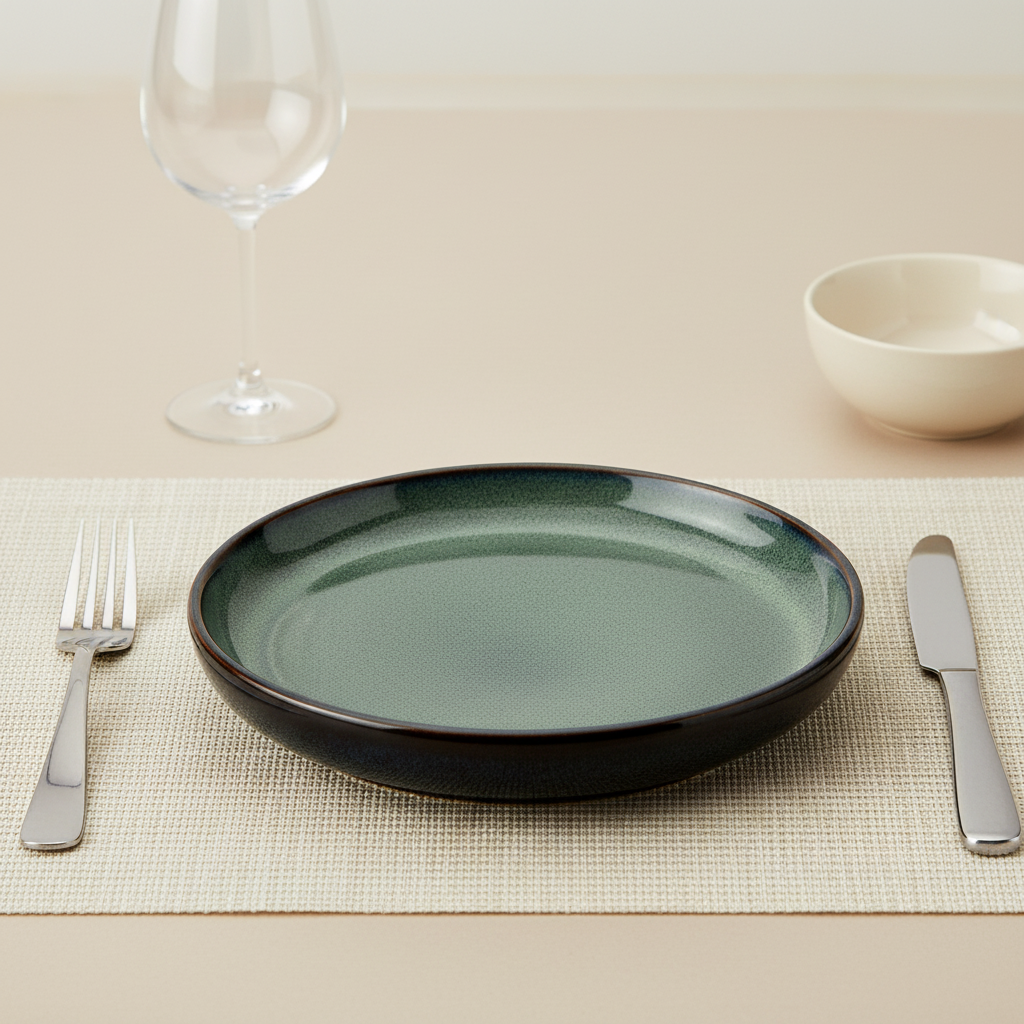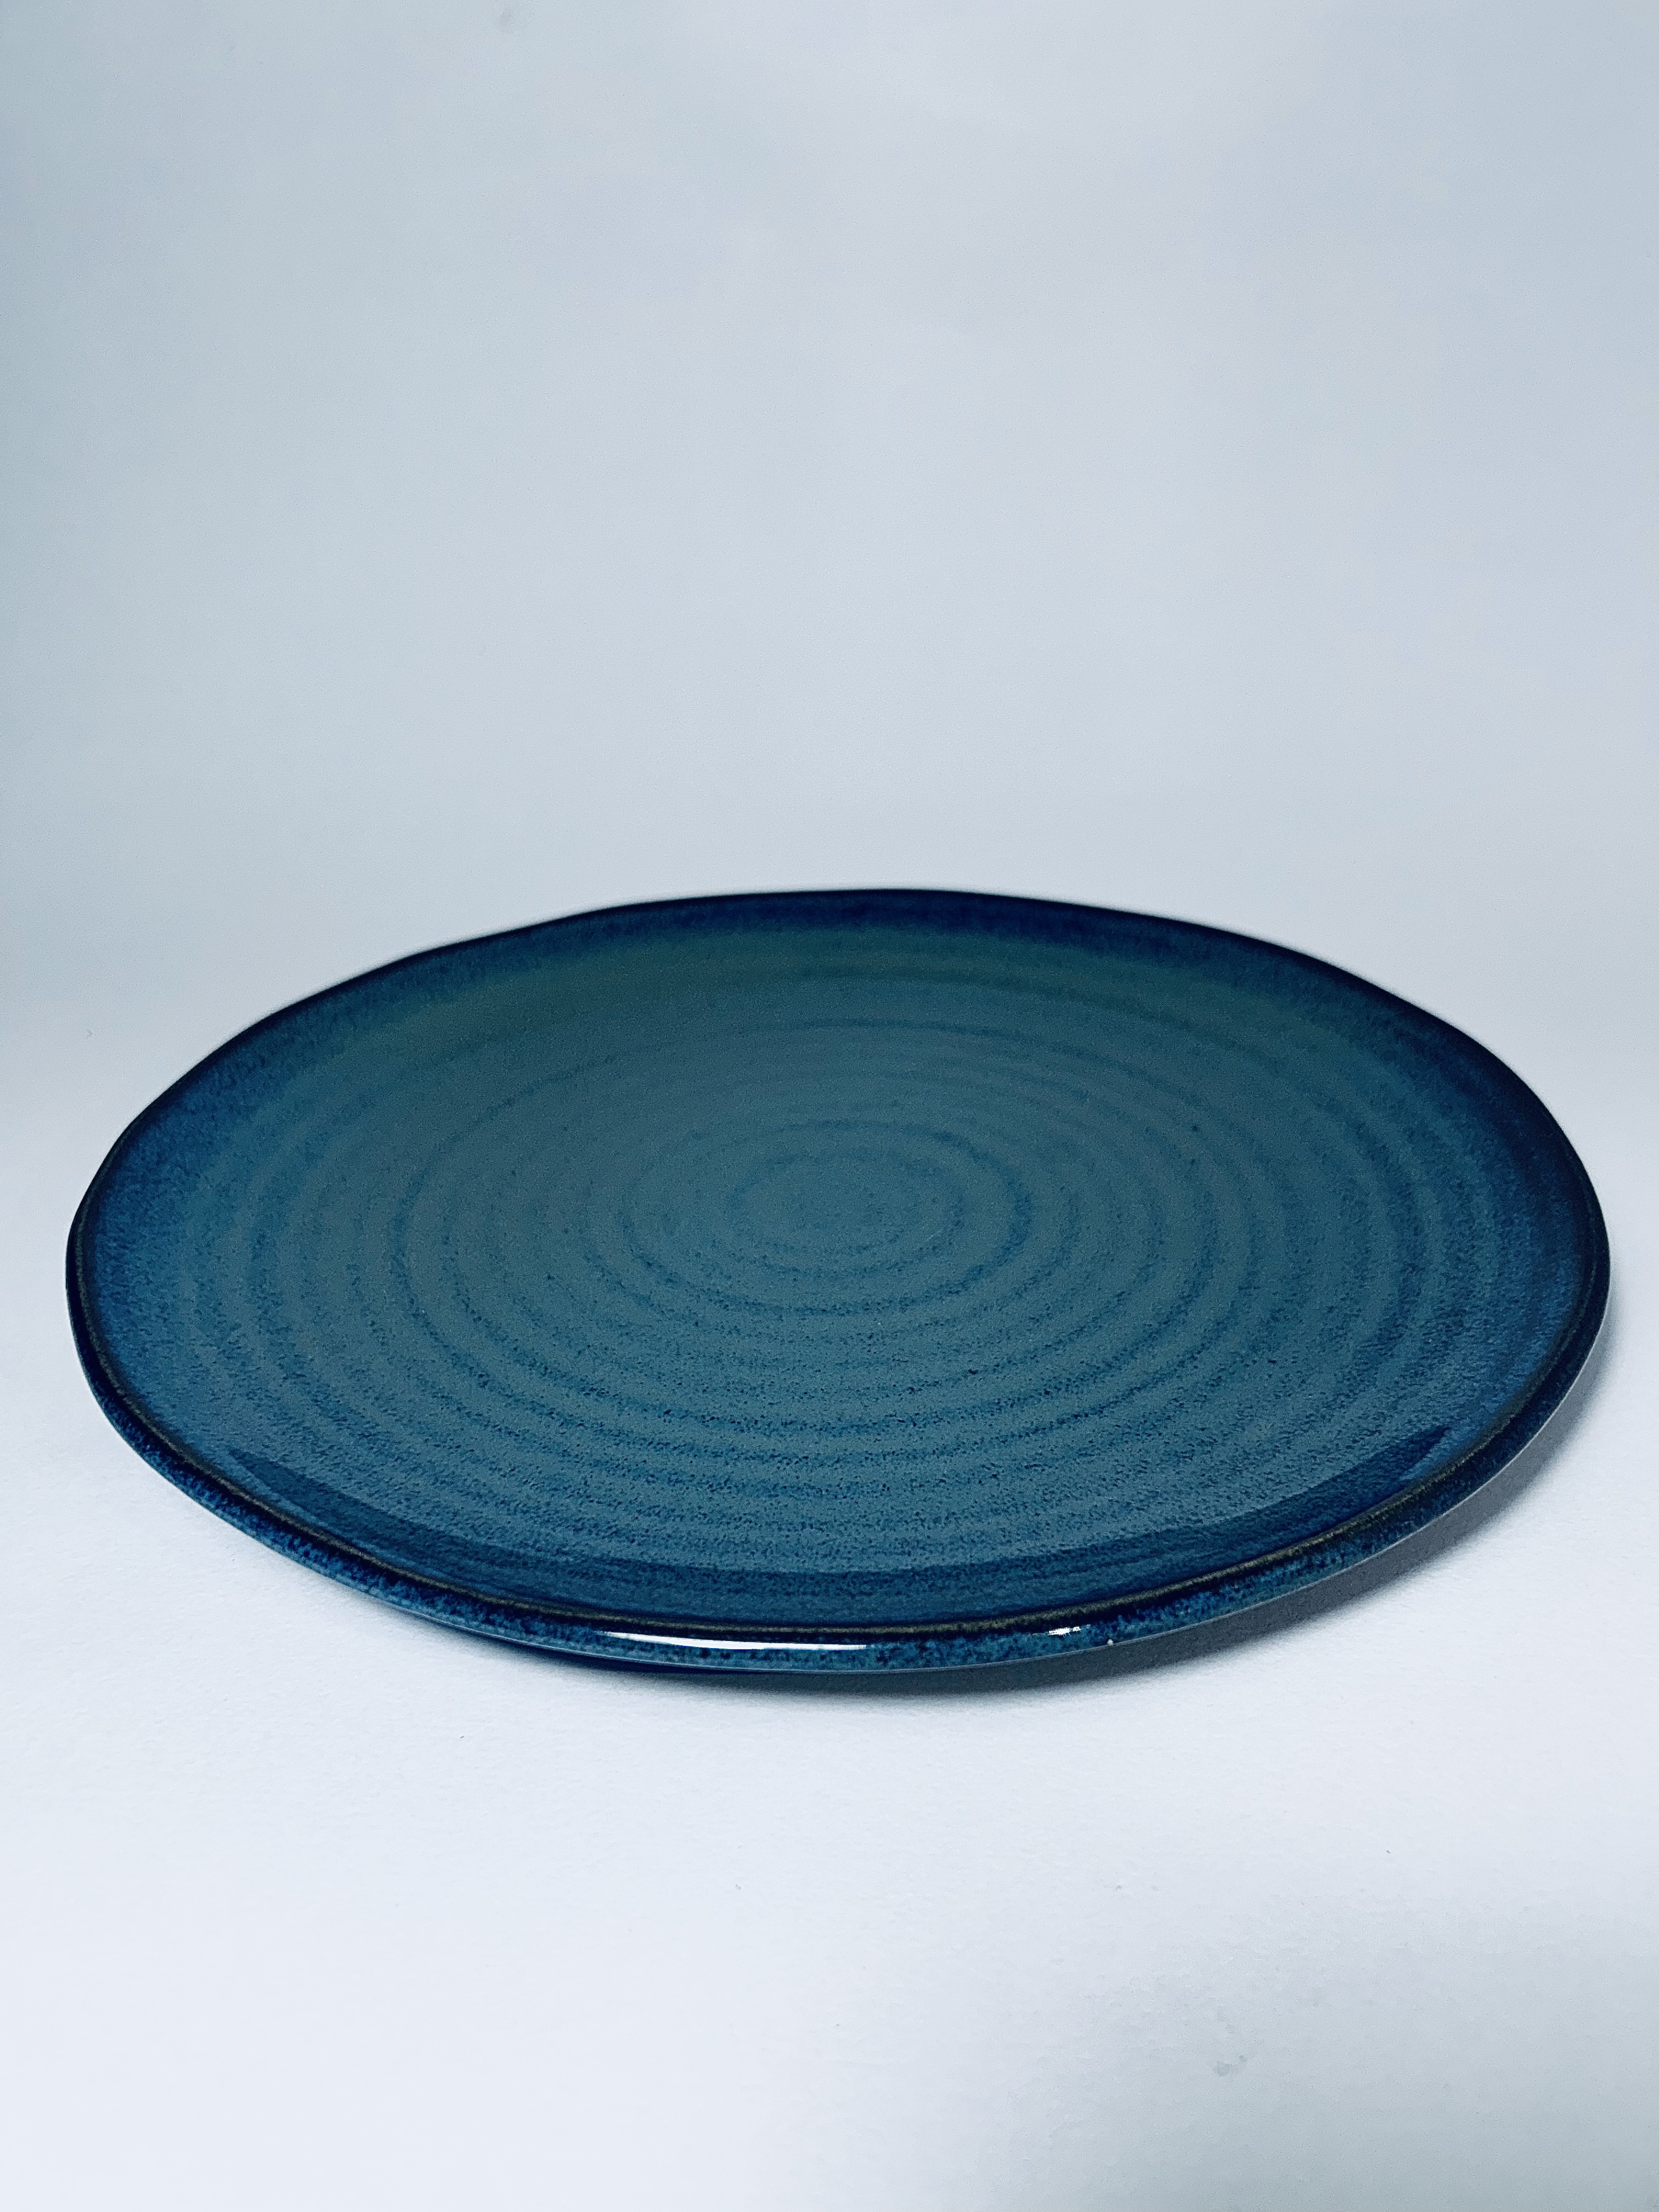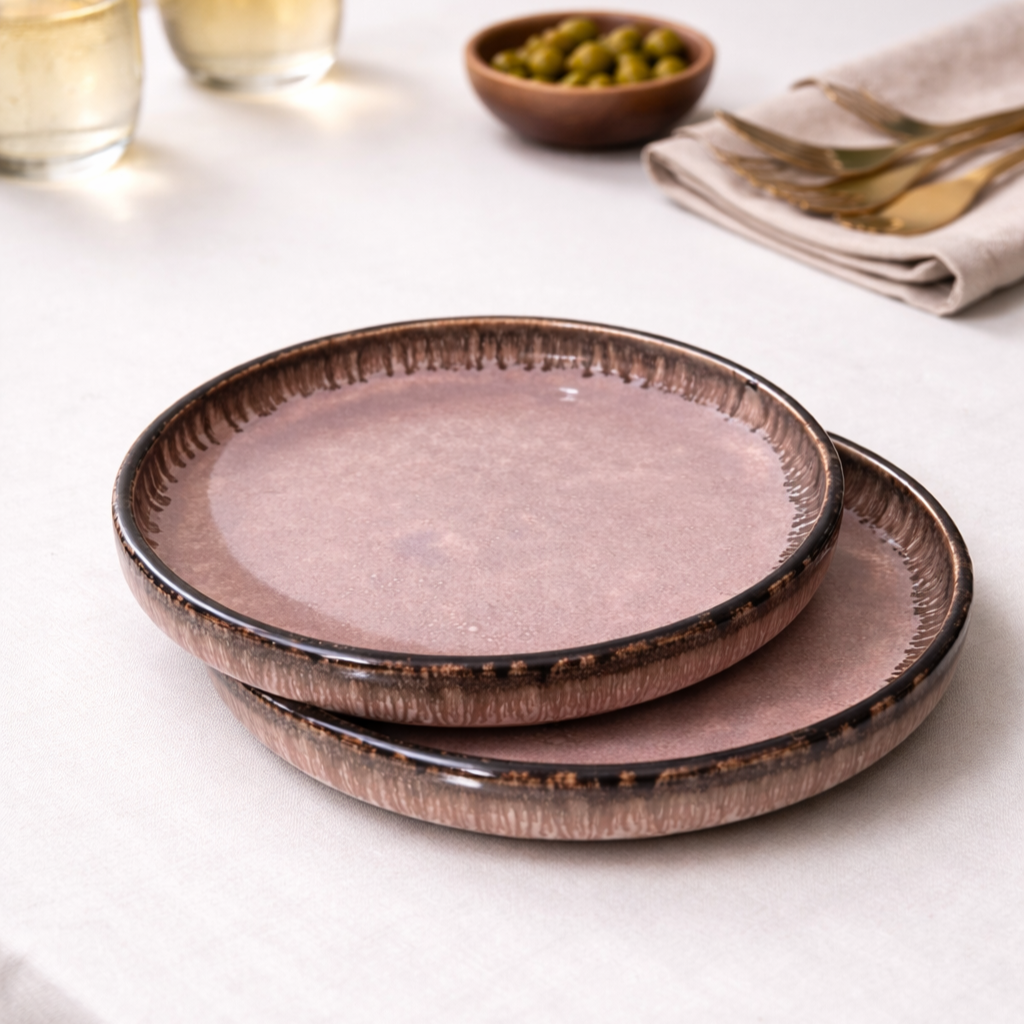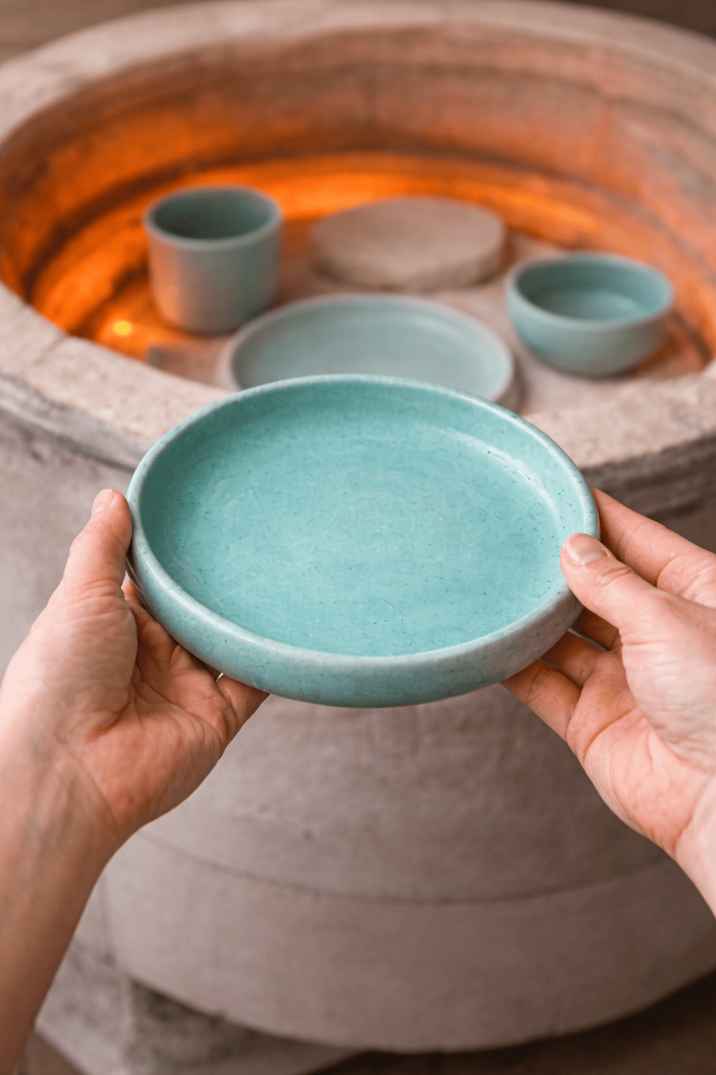
How to Make Ceramic Plates by Hand Without a Pottery Wheel ( By hand using simple slab techniques.)
Making ceramic at home may sound difficult at first, especially if you don’t have a pottery wheel. But trust me, it is completely possible for beginners and in this very blog you will learn how to Make Ceramic Plates by Hand Without a Pottery Wheel using the simple slab techniques and how to avoid common beginner mistakes from my experience and research so just reading this article put you ahead of most beginners ( i swear i am not some crazy competitive person ) . With a little patience, the right materials, and consistent practice, you can create learn how to make a beautiful clay plate by hand .
In this blog, I’ll walk you through my personal process of making ceramic plates at home without using a pottery wheel. I’ll keep it simple and beginner-friendly so you can follow along easily and make your own DIY ceramic plates at home even without a wheel.
Let’s get started for our clay plates DIY learning session to achieve our first slab pottery plate 🍽️. Now check this blog if you want to become like a pro on types of clay in pottery as that would make this blog too lengthy plus its not something needed right now but yeah later in your pottery projects that would help you make stand out product so do refer to it if interested .
Step 1: Choosing the Right Clay ( What Type of Clay Is Best for Making Ceramic Plates at Home ?)
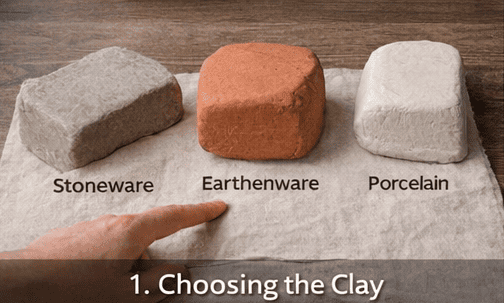
The first and most important step in any ceramic-making process is choosing the right clay.
There are many types of clay available, and each one has its own properties.
check out this blog to learn about different types of clay.
However, in ceramics,
three main clay bodies are used most commonly:
- Stoneware
- Earthenware
- Porcelain
For beginners, I strongly recommend using earthenware clay.
- It is affordable
- Easy to work with
- Good plasticity
When you start pottery, your first few pieces will not be perfect. This is normal. Just like drawing, pottery improves with practice.
Porcelain is more expensive and difficult to handle. Stoneware is popular, but earthenware is best for beginners.
All three clays are safe when used properly.
Step 2: Preparing and Flattening the Clay (How Do You Flatten Clay Evenly Without a Pottery Wheel ? )
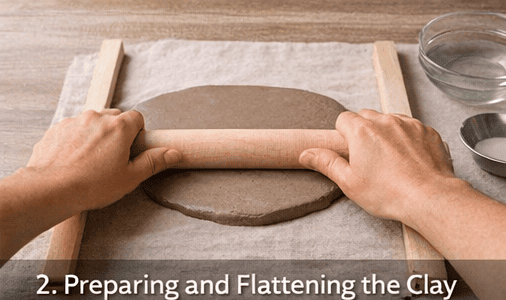
Roll your clay into a smooth ball.
- Place a cloth on the table
- Put two guide sticks
- Place clay in the center
- Use a rolling pin
Roll slowly until you get the desired thickness.
Even thickness is very important.
Step 3: Removing Air Bubbles
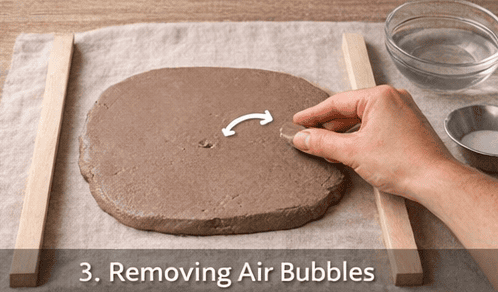
Check your clay for air bubbles.
If left inside, bubbles can cause cracks.
- Scratch the bubble area
- Press and smooth it
- Make it flat again
Always remove air bubbles before moving forward.
Step 4: Smoothing the Surface ( How Can You Smooth and Refine Ceramic Plates Before Drying ?)
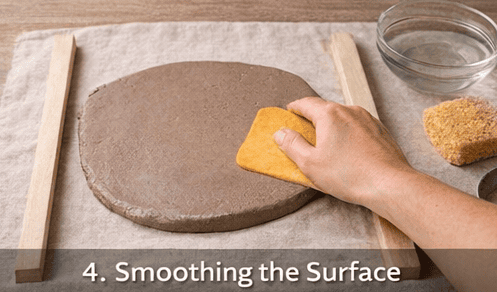
Use a soft brush and card to smooth the surface.
- Clean extra clay
- Scrape gently
- Make it even
Your slab should now feel smooth.
Step 5: Giving Shape to the Plate (How Do You Shape Ceramic Plates Without Using a Wheel ?)
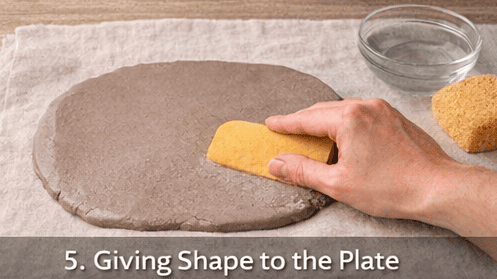
Turn a kitchen plate upside down.
- Place clay on top
- Center it
- Press gently
- Shape edges
Use soft hands and light pressure.
Remove rough edges and clean the rim.
Now you have your plate shape.
Step 6: Drying the Clay (How Long Should Ceramic Plates Dry Before Firing? )
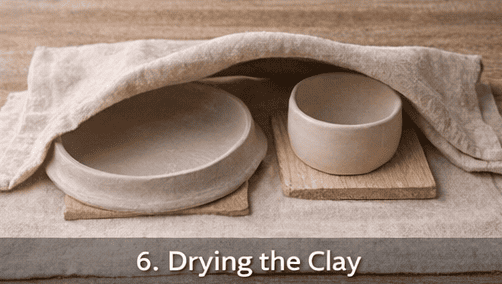
Before firing, your clay must dry completely.
If you fire wet clay, it can explode in the kiln.
Place your plate in a dry, shaded area.
- Do not place in direct sunlight
- Do not use a heater
- Let it dry naturally
Drying usually takes 2 to 5 days depending on weather.
When the clay feels room temperature and light, it is dry.
Step 7: First Firing or Bisque Firing (What Is Bisque Firing and Why Is It Important for Ceramic Plates ?)
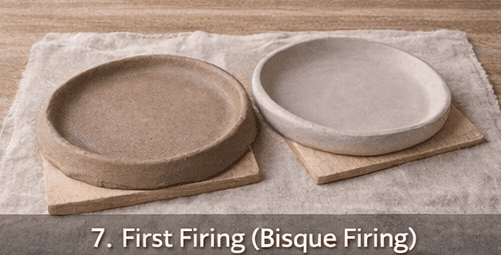
Once dry, your plate needs to be fired.
Firing removes moisture and strengthens clay.
Use kiln rental services if you do not own a kiln.
Follow the clay temperature instructions.
After this firing, your plate becomes bisque-fired.
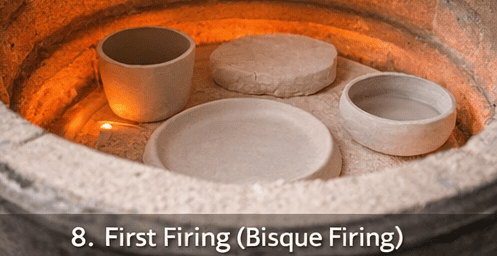
- Harder than clay
- No moisture
- Not finished yet
Step 8: Understanding Glazing (How Do You Glaze Ceramic Plates at Home ?)
Glazing gives ceramic its glossy and premium finish.
Never skip glazing.
It is a necessary part of pottery.
Step 9: Why Waxing Is Important
Glaze melts in the kiln.
If it sticks to the bottom, it damages the kiln.
Wax prevents glaze from sticking.
Step 10: Applying Hot Wax ( Why waxing is required in pottery ? )
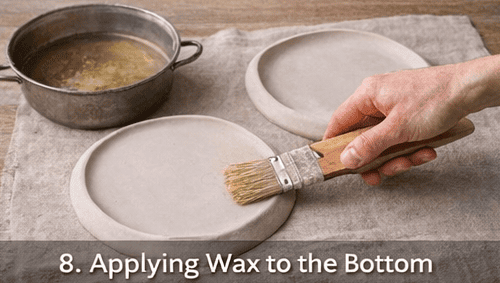
- Heat wax in a pan
- Melt completely
- Dip brush
- Apply to bottom
Let wax dry fully.
Step 11: Buying and Handling Glaze ( Where to buy glaze for pottery ?)
Buy ceramic glaze from pottery stores.
Glaze is a solid mixed with water.
Never pour glaze into drains.
Let it settle and dispose safely.
Step 12: Applying the Glaze (How to apply glaze on your pottery ?)
- Hold plate
- Dip in glaze
- Remove slowly
- Let excess drip
Use brush for uncovered areas.
Smooth with soft cloth.
Waxed area will remain clean.
Step 13: Final Glaze Firing ( Mistakes to avoid while glazing your pottery ! )
Send glazed plate for final firing.
Follow glaze temperature instructions.
Communicate clearly with kiln provider.
Step 14: Receiving Your Finished Plate (WOHOOOO🤯)
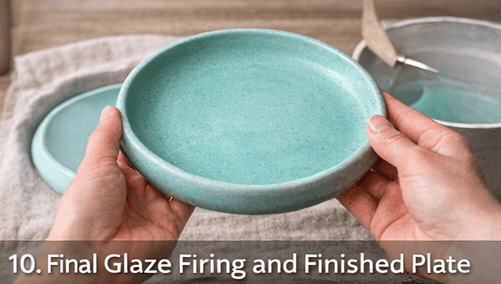
After firing, your plate is ready.
- Glossy finish
- Strong body
- Beautiful color
It will be something you made yourself.
Final Thoughts
Your first pieces will not be perfect.
They may have small defects.
That is part of learning.
With every piece:
- Your skills improve
- Your confidence grows
- Your results get better
Pottery is about patience and enjoyment.
Keep practicing. Keep learning. Keep creating.
FAQs
Can I make ceramic plates at home without a pottery wheel?
Yes, you can make ceramic plates at home without a wheel by using hand-building methods like slab rolling (used in this blog), mold shaping, and pinching. These techniques are beginner-friendly and do not require expensive equipment.
Do I need a kiln to make ceramic plates at home?
A kiln is recommended for making strong and long-lasting ceramic plates. However, beginners can practice using air-dry clay or low-fire clay, although these will not be as durable as kiln-fired ceramics. I recommend finding a kiln, because even professionals cannot achieve great results without proper firing.
How long does it take to make ceramic plates at home?
Making ceramic plates at home usually takes 3 to 7 days. This includes shaping, drying, bisque firing, glazing, and final firing. Air-dry clay projects may take less time, but patience is an essential skill in pottery.
Are homemade ceramic plates safe for eating?
Homemade ceramic plates are food safe only if they are fired in a kiln and glazed with food-safe glaze. Stoneware and porcelain plates are safer due to lower porosity. Earthenware is more porous and better suited for decorative use.
What type of clay is best for beginners at home?
Low-fire earthenware clay is best for beginners because it is easy to shape, affordable, and fires at lower temperatures. It also has similar plasticity to stoneware, making it easier to transition later.
Can I use an oven instead of a kiln for ceramics?
No, a regular home oven cannot reach the high temperatures needed to fire ceramics. Kilns are specifically designed for proper clay and glaze firing.
Why do my ceramic plates crack while drying?
Cracking usually happens due to uneven drying, trapped air bubbles, or overly wet clay. Dry your plates slowly in shade and flip them occasionally to prevent stress.
How thick should a ceramic plate be for home projects?
For beginners, ceramic plates should be about 6–8 mm thick. This thickness helps prevent warping and cracking.
Can I sell ceramic plates made at home?
Yes, you can sell homemade ceramic plates if they are properly fired, glazed with food-safe materials, and tested for durability. Professional finishing improves customer trust.
What is the easiest method to make ceramic plates at home?
The slab method is the easiest for beginners. It involves rolling clay flat, cutting circles, and shaping them over molds or bowls.
What basic materials are essential for making ceramics at home?
You will need clay, a work surface, basic hand tools, water containers, and a drying area. Tools include a cutting wire, sponges, rolling pin, needle tool, and wooden modeling tools.
Can I make pottery at home without a traditional kiln?
Yes, you can use air-dry clay or arrange for professional firing at a local studio. High-fire ceramics like stoneware and porcelain always require a kiln.
What are the fundamental steps involved in creating pottery at home?
1. Preparation: Wedge clay
2. Forming: Shape using hand-building methods
3. Drying: Allow slow, even drying
4. Finishing: Seal, bisque fire, glaze, and fire if applicable
How long does homemade ceramic take to dry completely?
Drying usually takes from a few days to two weeks depending on clay type, thickness, and humidity. Slow drying prevents cracking.
What type of clay is best for beginners making ceramics at home?
Air-dry clay is easiest for beginners. If you have kiln access, low-fire earthenware is also suitable.
Are there any safety precautions I should take?
Ensure good ventilation, wear a dust mask when sanding dry clay, wet-wipe surfaces, avoid eating near clay, and follow kiln and glaze safety instructions.
How do I add color and finish to air-dry ceramics?
After drying, paint using acrylic or tempera paints and seal with clear varnish or acrylic sealer for protection.
What are common mistakes beginners should avoid?
1. Skipping wedging
2. Uneven thickness
3. Rushing drying
4. Poor joining
5. Using too much water
Last modified on FEBRUARY 8TH, 2026